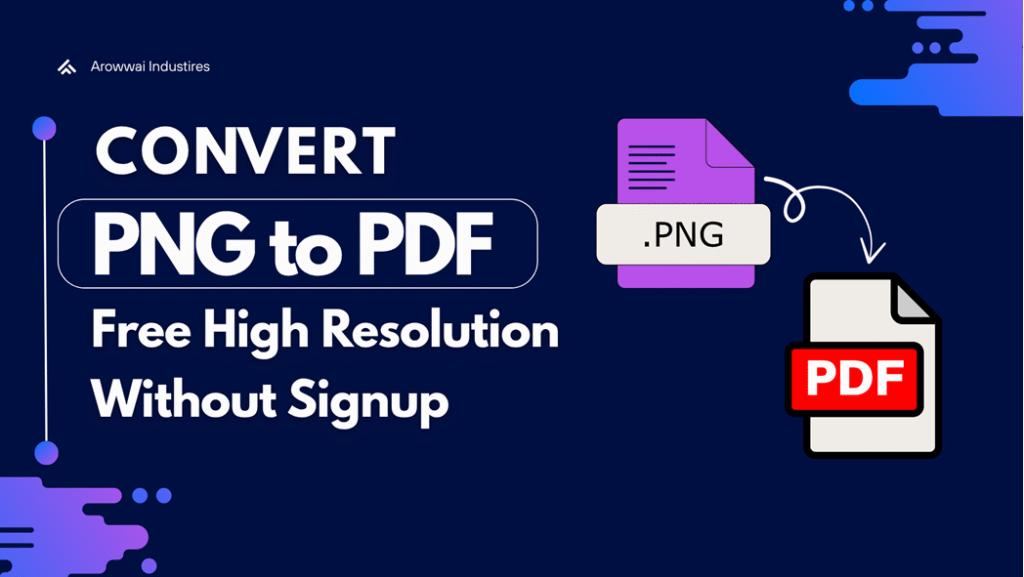
No gimmicks. No logins. Just clean, high-quality conversions.
Alright, let’s cut the fluff. You’ve got a bunch of PNGs – screenshots, invoices, scanned pages, maybe memes for a presentation (we’ve all been there). And now you need them as PDFs.
Not some blurry, low-res, “why does this look like it was printed on a potato?” kind of PDF.
A clean, high-resolution, no-signup, no-watermark kind of deal.
So, let’s talk about the actual ways to do that – the ones that work in 2025 without trapping you behind fake “FREE CONVERTER!!!” buttons.
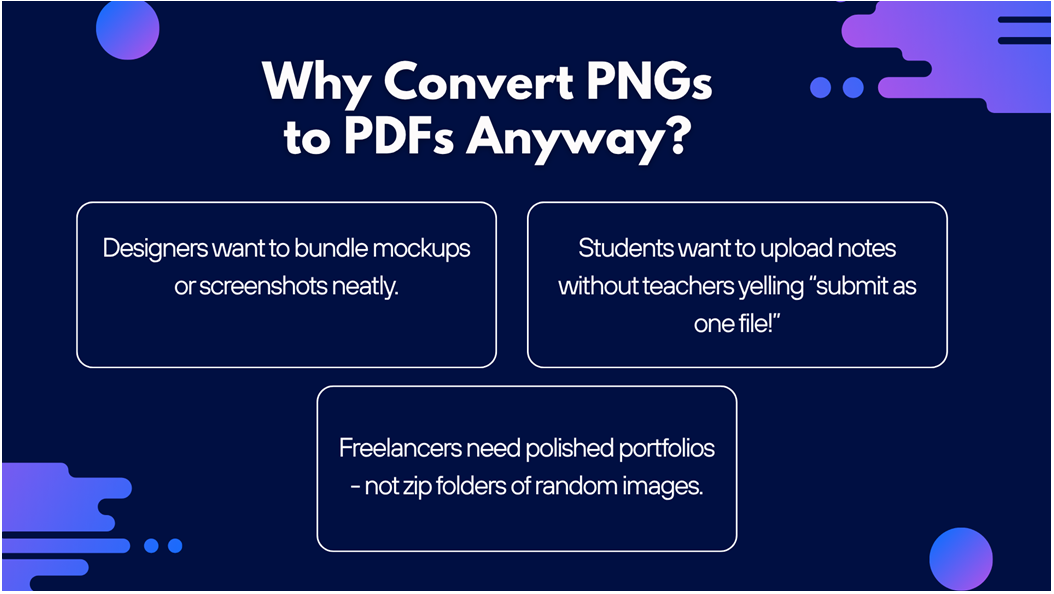
Why Convert PNGs to PDFs Anyway?
Because PNGs are chaos.
They’re perfect alone, but the moment you’ve got ten of them, they start acting like unsorted socks.
PDFs? They’re calm, composed, professional.
One file, one click, no mess.
 Here’s what people actually use it for:
- Designers want to bundle mockups or screenshots neatly.
- Office folks want invoices, receipts, and scanned docs organized.
- Students want to upload notes without teachers yelling “submit as one file!”
- Freelancers need polished portfolios – not zip folders of random images.
So yeah, the use case isn’t fancy. It’s practical.
The Sad Reality of “Free” PNG-to-PDF Tools
You Google “png to pdf converter free” and instantly get catfished.
Half those sites promise “high quality” – and then:
- ask you to sign up,
- stamp a watermark on your work, or
- destroy your image quality like it’s 2007.
Worse? They throttle speed unless you pay $4.99/month for “Pro Ultra Max Platinum Cloud Conversion Mode.”
Nah. Let’s not.
We tested every major tool out there – and only one PNG to PDF converter deserves your clicks.
5# PDFgear – The MVP Nobody Talks About
If there’s one tool that deserves a round of applause, it’s PDFgear.
It runs entirely in your browser – meaning your images never leave your device.
You drag your PNGs in, hit convert, and boom – instant PDF.
No sign-ups, no upload delays, no “Your file is processing” lies.
Why it slaps:
- Converts multiple PNGs into one PDF.
- Keeps true resolution (no auto-compression).
- Fast as hell, even on old laptops.
- Layout controls if you care about margins or paper size.
Basically, it’s what all the other “free” converters pretend to be.
4# PDF24 Tools – German Engineering for PDFs
This one feels like it was built by engineers who hate inefficiency.
PDF24 just… works.
It’s super clean, lets you drop multiple PNGs, merge them, reorder them, and export to PDF – all from your browser.
Files auto-delete after 60 minutes, so it’s privacy-safe too.
No signup
No watermark
No shady ads about “AI Enhancers”
If you’re a professional or office user, PDF24 is basically the gold standard for no-drama PDF work.
3# SmallPDF – Polished but a Bit Pushy
SmallPDF is like that friend who helps you move but keeps reminding you they have a gym membership.
It’s slick, friendly, works well – but free users can only do two conversions per day.
Still, if you’re not bulk converting, this tool’s output is solid.
Colors stay accurate, text stays sharp, and layout doesn’t break.
For one-off tasks like turning a single PNG into a clean PDF?
Chef’s kiss.
2# iLovePDF2 – Great for Everyday Use
I Love PDF 2 is the “everyone’s tried it once” converter – and it’s still around for a reason.
It’s fast, handles multiple files, and produces surprisingly neat PDFs.
But – it caps free users at 40 MB total upload, so if your images are large, it’ll throw a polite tantrum.
Otherwise, it’s great for everyday stuff like receipts, lecture notes, and scanned forms.
1# Adobe Acrobat Online – The OG with Standards
Look, Adobe’s not free-free. But its online PNG-to-PDF tool is free for basic use – and the quality is unmatched.
If you’re converting design assets, product mockups, or anything print-ready,
Adobe keeps your DPI, your color profile, your sharp edges – everything.
The only catch? It’ll nudge you to sign in after a few conversions.
Still, it’s worth it if you need studio-grade accuracy.
Quick Recap Before We Go Deep
| Tool | Signup Needed | Watermark | File Limit | Quality | Privacy |
| PDFgear | No | None | ⭐⭐⭐⭐⭐ | Local Only | |
| PDF24 Tools | No | None | ⭐⭐⭐⭐ | Auto-delete | |
| SmallPDF | No | 2/day | ⭐⭐⭐⭐ | Secure | |
| iLovePDF2 | No | 40 MB | ⭐⭐⭐ | Cloud | |
| Adobe Acrobat | No | 1 file | ⭐⭐⭐⭐⭐ | Secure |
The Art of Combining Multiple PNGs into One Clean PDF
We’ve all been there: you upload a bunch of PNGs, and the final PDF looks like someone shuffled them mid-air.
Pages out of order, weird spacing, random crops – total chaos.
Here’s the smooth workflow that fixes all that, every time:
1- Name your files right.
Before uploading, rename your PNGs sequentially:
page_01.png
page_02.png
page_03.png
That’s how the converter keeps the order straight.
2- Choose the right layout.
A4 or Letter for docs.
Original size for artwork or screenshots.
Landscape if your images are wide (presentations, panoramas, etc.).
3- Merge and preview.
Tools like ILovePDF2 and PDF24 let you reorder pages visually.
Always preview before you export – saves you from the “why is page 3 upside down” moment.
Then hit convert – and boom, you’ve got a single, crisp, well-behaved PDF.
Don’t Fall for the “Compressed PDF” Trap
You’ll often see a sweet little checkbox that says “Optimize file size.”
Ignore it like an ex texting “hey.”
That’s code for: “We’re about to nuke your resolution.”
Those “optimized” settings squash image data to keep file size low, and you end up with jagged text, dull colors, and weird blurs around edges.
Here’s how to avoid that:
- Always pick Original or High Quality
- Keep “Resize” unchecked.
- If the final file is too big, compress it afterward using TinyPDF or iLovePDF2 Compress – not during export.
DPI: The Silent Killer of Image Quality
You’ve heard of DPI (dots per inch), but here’s the truth:
Most online converters default to 150 DPI, which is fine for screens, awful for printing.
If your PNGs are graphics, posters, or scanned docs you might print later – set it to 300 DPI or higher.
The good converters (like PDFgear) will automatically detect your image DPI and preserve it.
But if you’re using Photoshop, GIMP, or even Paint.NET before conversion, export your PNGs at 300 DPI first.
That one move is the difference between “crisp brochure” and “smeared relic.”
Bonus Tip: Add, Edit, or Rearrange Without Starting Over
Once you’ve built your perfect PDF, sometimes you realize – oops, forgot a page.
Instead of reconverting everything:
- Use any of the free tool (mentioned above).
- Drag in your missing PNG.
- Drop it where it belongs.
- Save → done.
It’s like drag-and-drop surgery for your PDF.
Real Pain Points People Complain About (and How to Fix Them)
Problem: File too large to upload or email
Fix: Compress it after conversion using TinyPDF or Squoosh – not during.
Problem: Colors look dull or washed-out
Fix: Stick to sRGB color profile before converting. PDFgear and Adobe preserve it best.
Problem: Blurry output
Fix: Increase DPI before upload. Don’t upscale afterward – that’s just sad.
Problem: Files upload too slow
Fix: Use local-processing tools like PDFgear or PDF24 – no server lag, no bandwidth drama.
The Smart Way to Convert PNG to PDF Free (and Look Like You Know What You’re Doing)
Use IlovePDF2 – no signup, no watermark, no compression. Always rename your PNGs before converting. Keep “compress” unchecked – that’s how quality dies. If needed, compress after using IlovePDF2 free PDF compressor. For color-accurate results, stick to sRGB and 300 DPI.
You don’t need paid Adobe anything for this.
You just need to know what buttons not to click.